Part 1: For Windows users-How to rip DVD movies to your portable devices?
Step 1: Download, install and launch Pavtube DVD Ripper
As soon as you run this program, the following interface will appear:
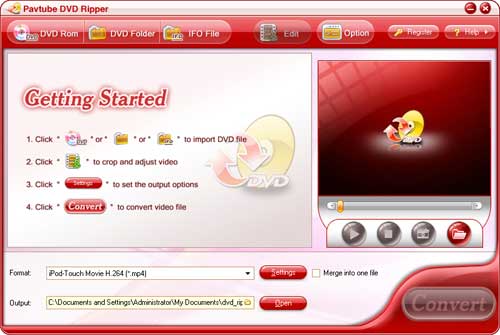
Step 2: Import DVD, select output format for your portable Devices and set destination folder
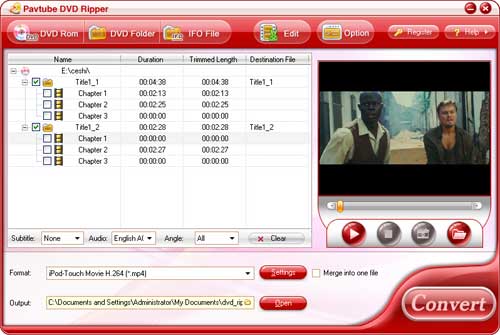
There are three ways to import DVD files, namely through pressing "DVD Rom", "DVD Folder", or "IFO File". After importing the DVD files, now click the drop-down?list of "Format" to select a video format for your mobile devices. The output formats are all listed below, and just make a choice according to the types or compatible formats of your portable players.
Besides this,you can click the folder icon on the?opposite side of "Output"to specify where to locate the output files, otherwise,
Pavtube DVD Ripper will use the folder set by default.Moreover,if you want to join multiple DVD chapters to?be one file, you can check "Merge into one file" to realize it.
Step 3: Set advanced settings
This converter allows you to adjust video and audio parameters, including video codec, bit rate, frame rate, aspect ratio and so on. Generally speaking, the larger inserted values will produce the better video quality, while the file size will be enlarged.

Step 4: Convert
After you set all the settings, you can click "Convert" to start conversion. Once the conversion is completed, you can click "Open" to find out the output files.
Tips: Some more editing functions you may need:
Select a file, and click on the "Edit" button, and then you can change the video and audio effect directly.
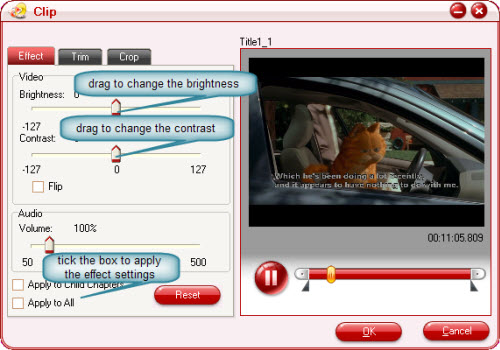
1.Effect: adjust Brightness, Contract, Audio volume, etc.
Drag the slider bar of Brightness, Contrast, and Volume to change the effect,at the same time,you can preview the effect?on the right pane.If the DVD image does not display correctly,you can tick?the checkbox "Flip" to get it right. When you find the effect is better after changing the settings, you can choose to apply the effect settings to other files.
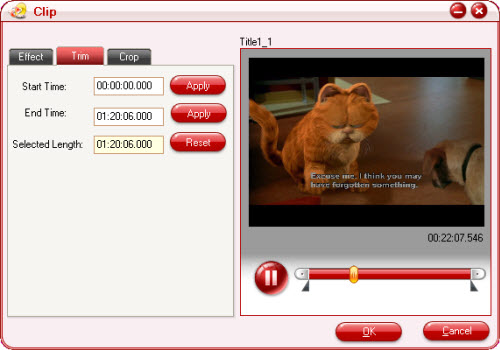
2. Trim: choose video duration time
Click on the "Trim" tab,and you will face the window below.Enter the time?point for the start time and the end time.You need click the "Apply" button after changing; otherwise,the change will not be valid. Alternatively, you can drag the slider bars to change the start time and end time.
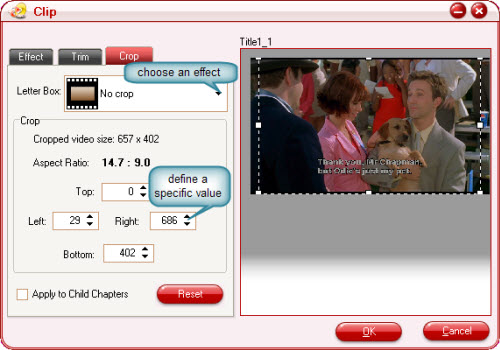
3. Crop: cut off black edges or the unwanted part of your video
Click on the "Crop" tab, and you?can change the image pixels in the following window.Select an option under the?drop down list of the "Letter Box",drag the dashed frame on the preview pane, or enter value into the boxes of the?four positions to set the pixels you want to cut off.If the file you select to customize is a title, you can tick the checkbox of "Apply to Child Chapters" to get other files with the same settings.

No comments:
Post a Comment